Christmas Tree
Using the border maker system, I punched 2 , 12 inch strips with one patterned paper and punched 2 , 12 inch strips with another papered paper..
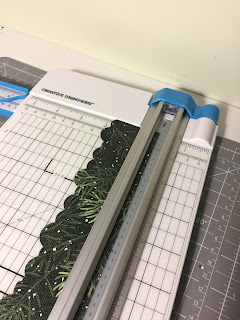
Use the 12 inch trimmer to cut at 2inches in between cuts to create 4 pieces.
last two pieces.. checking that they are 2 different patterned papers. Cut both at the 4.5 mark the move piece along and cut at 4inches.. This will leave a 3.5 piece.
Arrange all pieces from the bottom, partly stacking and alternating the patterned papers.
Use foam squares only in the middle area to attach, as you will be trimming edges to create the Tree shape.
Mark the center at the top of the tree. Using the 12 inch trimmer. Create a cut from the top middle of tree and to the bottom of the tree, Do this on both sides.
Hope you enjoyed this idea
if you would like to get any project supplies to created this project go to https://www.creativememories.ca/user/kristafrench
Happy Scrappin'


No comments:
Post a Comment